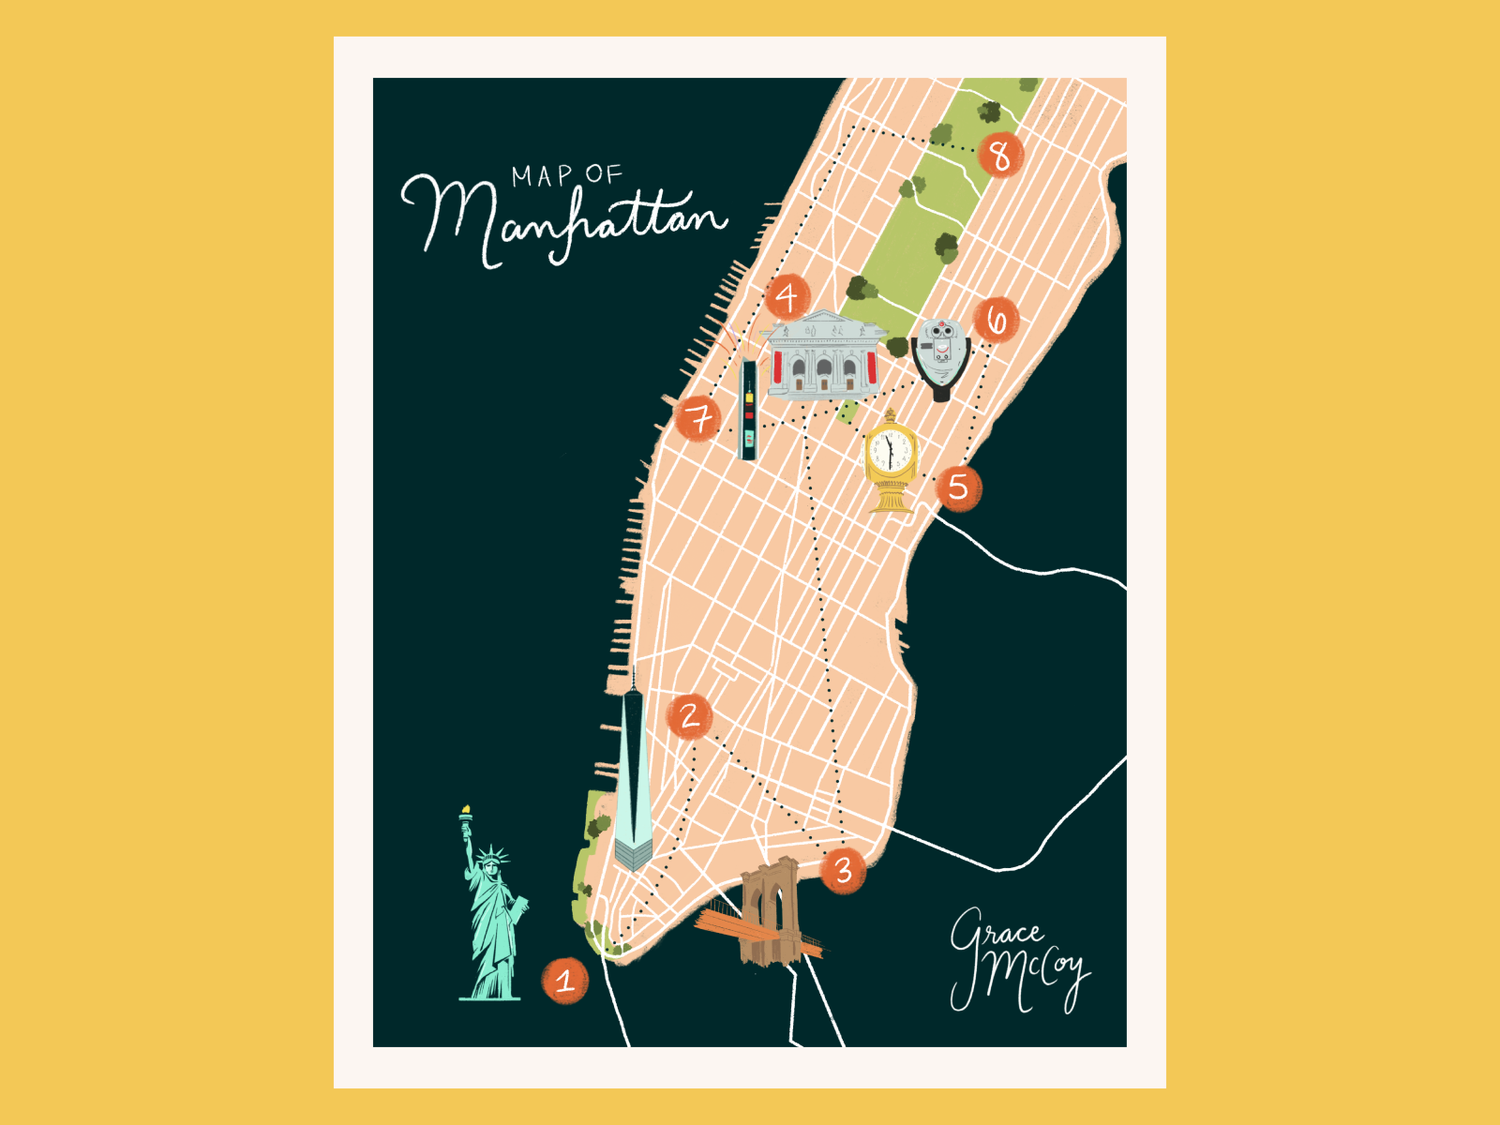
PEN TOOL TOURIST MAP
DUE: monDAY 10/3/22
(45 POINTS)
After practicing both shape, line, pen and opacity mask tools in Illustrator we are due for an art project! For this project you will be selecting a city to create a tourist map with small illustrations of landmarks and decorations. You will need to use all of the tools we have learned so far to create your Illustration.
To start your project go to Google Maps or the linked resource at the bottom of this assignment, and select the city you want to illustrate and take a screenshot. Keep in mind that you can do a section of the city, please see the attached examples. You may additionally choose to illustrate a fictional city, example: Gotham, The Shire, Hogwarts, etc! Bring your screenshot into Illustrator, File > Place > check the template option, then you can add in the main city roads. Once you have the base of your city you will need to add in 5 landmarks / attractions and 3 additional decorations ex: trees, people, cars, benches, animals, etc. You are allowed to find clip art images and trace them in illustrator using the pen tool or shape tools.
Requirements:
Outline of a city along with the major roads and streets
Choose a color theme to work with
5 landmarks or attractions
Text labeling each landmark or attraction
3 additional decorations (ex: trees, people, cars, benches, animals, etc.)
Name of the city, state (if applicable), and country
What to turn in:
PDF file renamed as: TouristMap_yourinitals.PDF
Full desktop screenshot of your finished work. Be sure to include your layers and history panel
HERE IS ANOTHER RESOURCE TO HELP YOU IDENTIFY MAJOR ROADS IN YOUR CITY!
CHECK OUT THIS LINK!
Student Samples
Additional Projects for Inspiration
Color Formula Seamless Patterns
To complete this assignment you will need to create TWO seamless patterns in Illustrator
Due: friday 9/16
Requirements:
YOU must illustrate all elements in the pattern
You may use any shape tool, pen tool, OR paint / pencil tool to illustrate your pattern
Select one of the seven color formulas we learned in class and create a color palette for your pattern
Your pattern must include 7 unique illustrations. Put time and effort into these illustrations, they should not just be simple shapes.
The pattern must reflect one of your interests
See examples below for inspiration!
Step by Step:
Open Illustrator and create a new document with the dimensions 8.5x11.
For this assignment you MUST use the HORIZONTAL orientation
Select your color formula and make a palette on the side of your art board
Remember you can use the Adobe Color Wheel or Coolers to help create your color palette. Copy and paste the hex code for the exact colors in Illustrator.
To create your palette use any one of the shape tools and fill it using the hex codes from one of our color resources.
Next Illustrate your design in a small square or small rectangle. Remember, we will be using a tool in Illustrator that will repeat the pattern for you. Right now you are only creating the base.
Use your preselected color palette to fill in and color your illustration
Take your time playing with the arrangement of your designs
Once you are happy with your base pattern, you will need to REPEAT it. Navigate to the Object Menu at the top of your computer > Repeat > Grid
This tool will now repeat your pattern seamlessly into your artboard!
Use the anchor points on the corners and sides of the pattern to scale the size
The circular handles with the arrows inside will change the distance between your pattern squares
When you are generally happy with your pattern, head over to the Properties Panel and make some adjustments
Navigate to the section that says “Repeat Options”. Here you will be able to change the look of the grid along with the column and row orientation.
Now it’s time to fine tune! First, click on the Illustrator menu > Preferences > General (or command > K) and double check that the “double click to isolate” option is selected
With this option checked, you can now use the normal selection tool and DOUBLE click on your original pattern square.
Once you have entered isolation mode, your original square will be selected. However, if you double click on a singular illustration you can change the color, size or even redraw on your pattern
This will apply to every repeat of your pattern!
To exit isolation mode, double click outside of the art board.
Repeat step 7 as many times as you need until you are happy with your pattern.
Make sure that your seamless pattern completely fills your 8.5x11 art board
File > Save As > PDF
Rename your Project: Pattern1_yourinitials.PDF and Pattern2_yourinitials.PDF
Don’t forget to create your second pattern!
What to turn in:
Two Finished Seamless Patterns
must be in the PDF file format
Each must be renamed: Pattern1_yourinitials.PDF and Pattern2_yourinitials.PDF
TWO Full Desktop Screenshot (for each pattern)
The screenshot should show your layers panel, your color palette (on the side of your art board) and history panel


