CYANOTYPE PHOTO SERIES (PHOTO 3 ONLY)
MILANOTE PLAN DUE: monDAY 9/26 (10 POINTS)
DIGITAL NEGATIVES DUE: TuesDAY 10/4 (15 POINTS)
FINAL PRINTS DUE: FRIDAY 10/13 (35 POINTS)
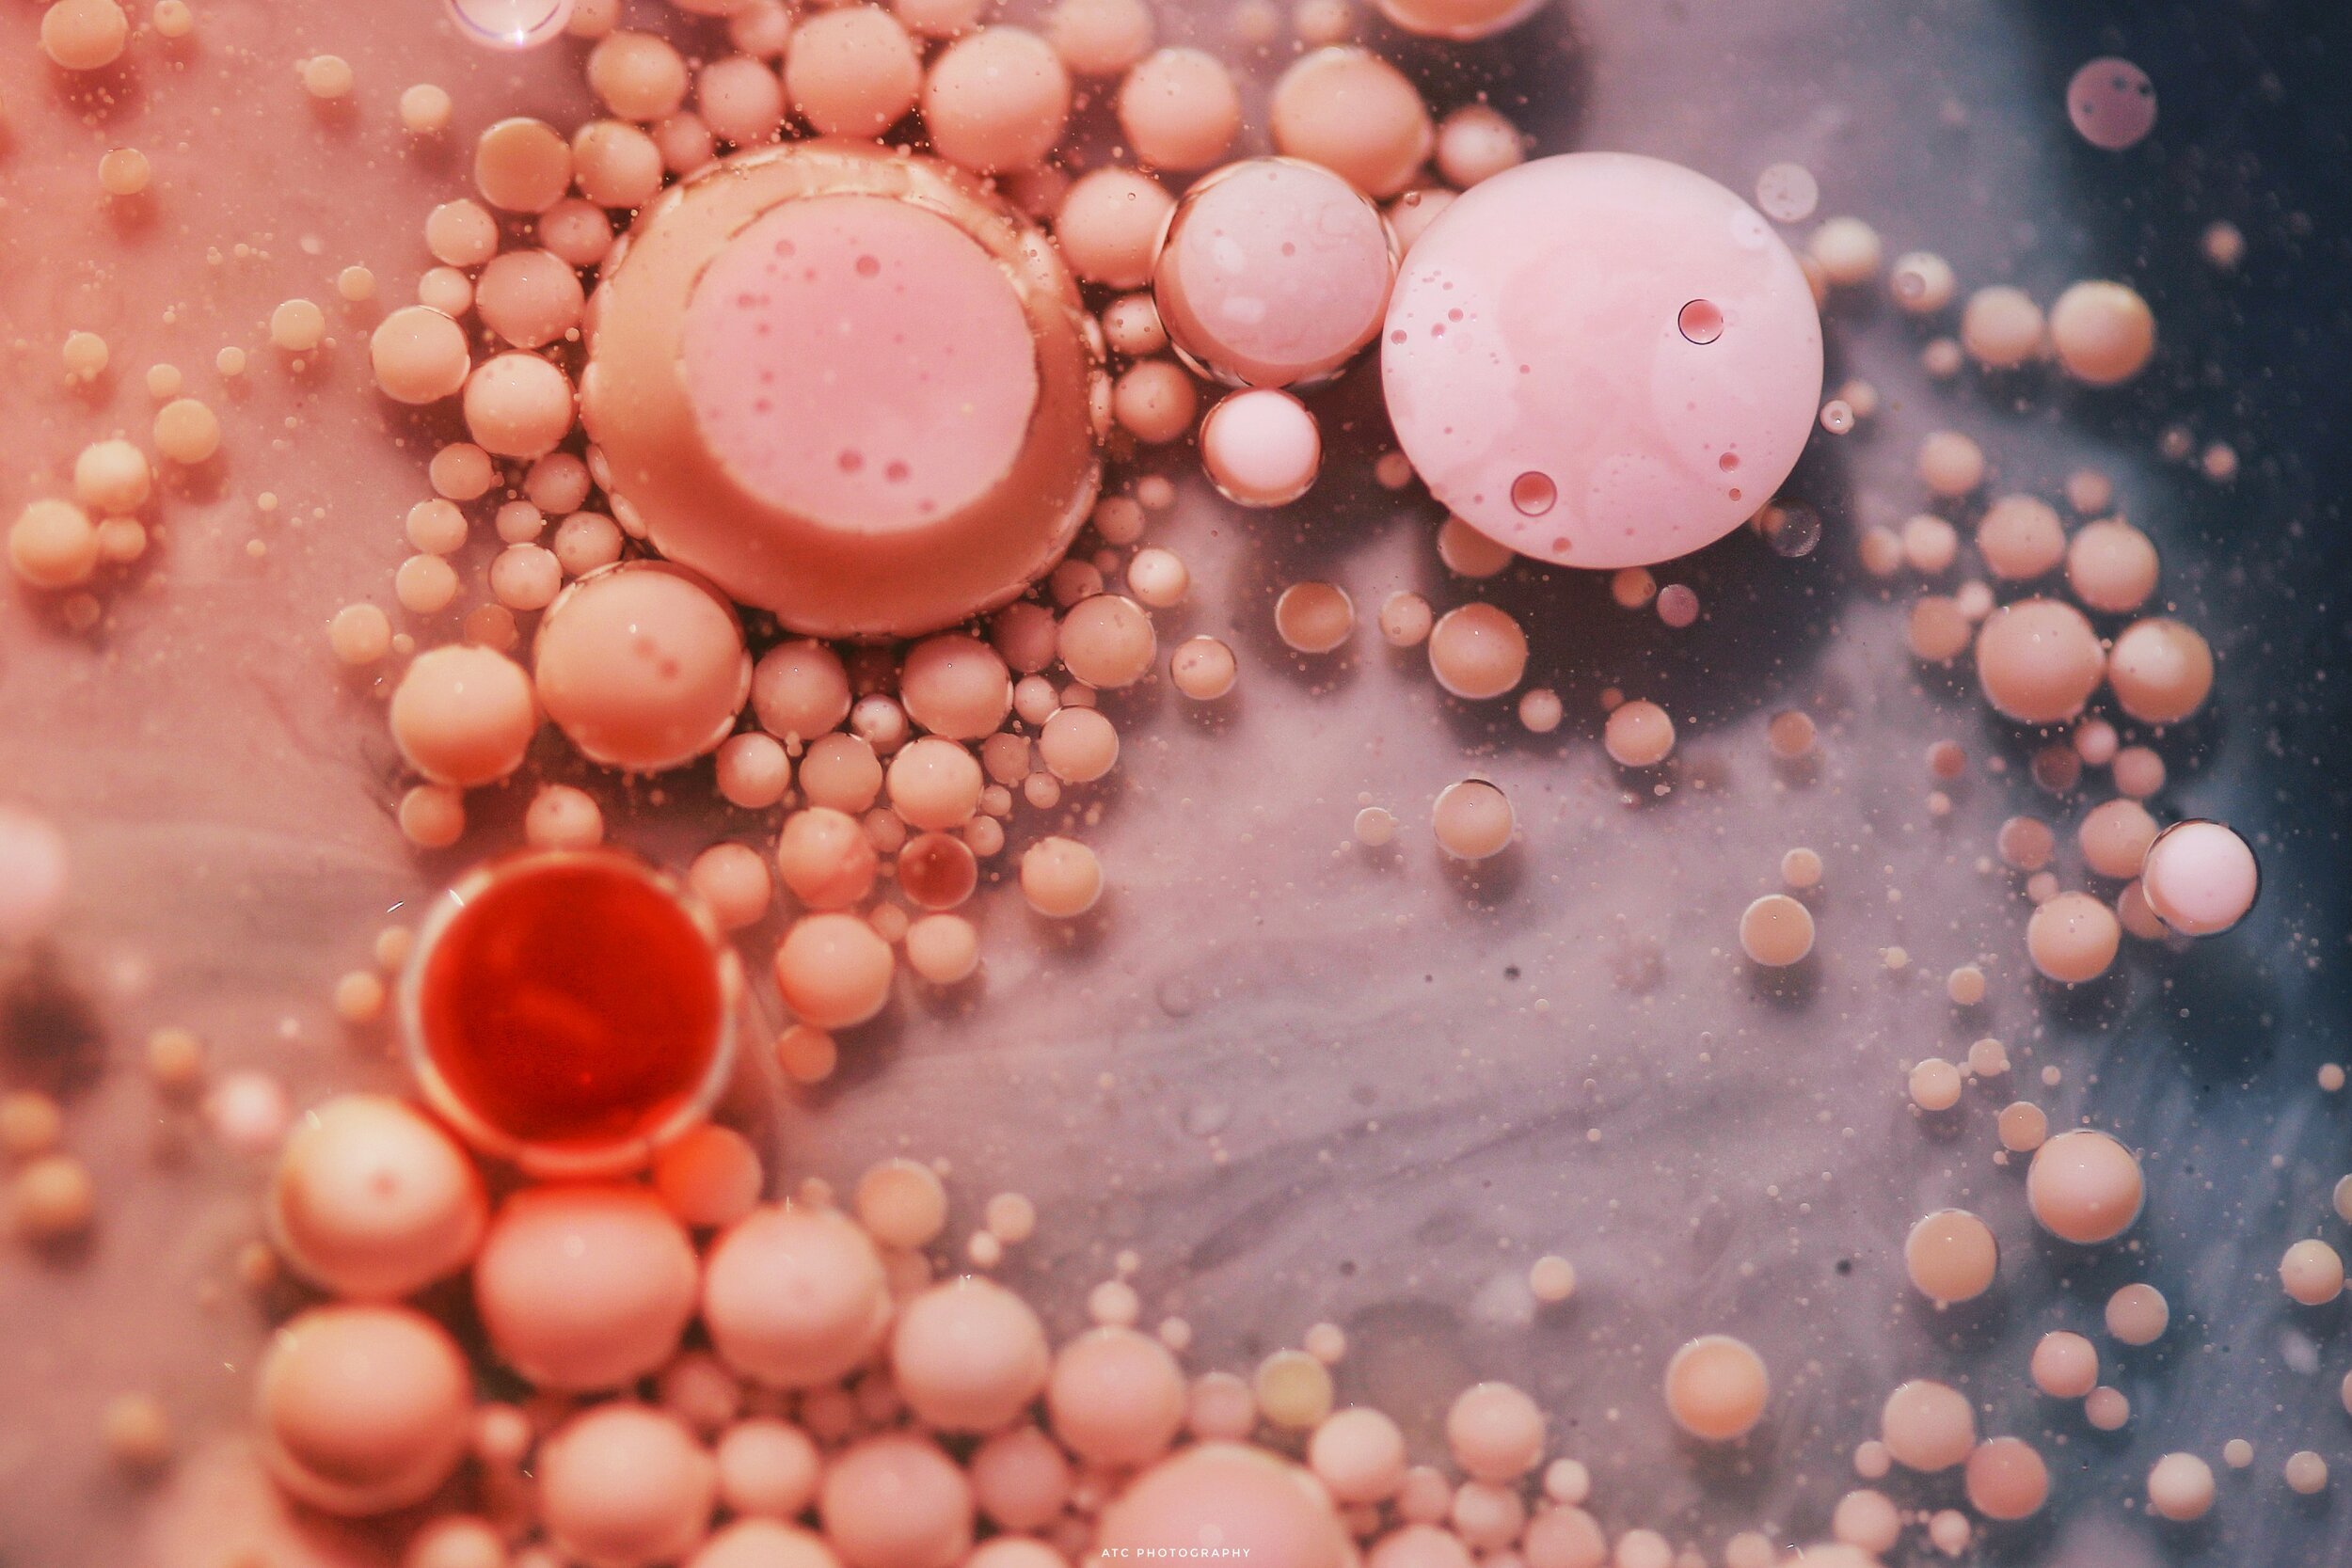
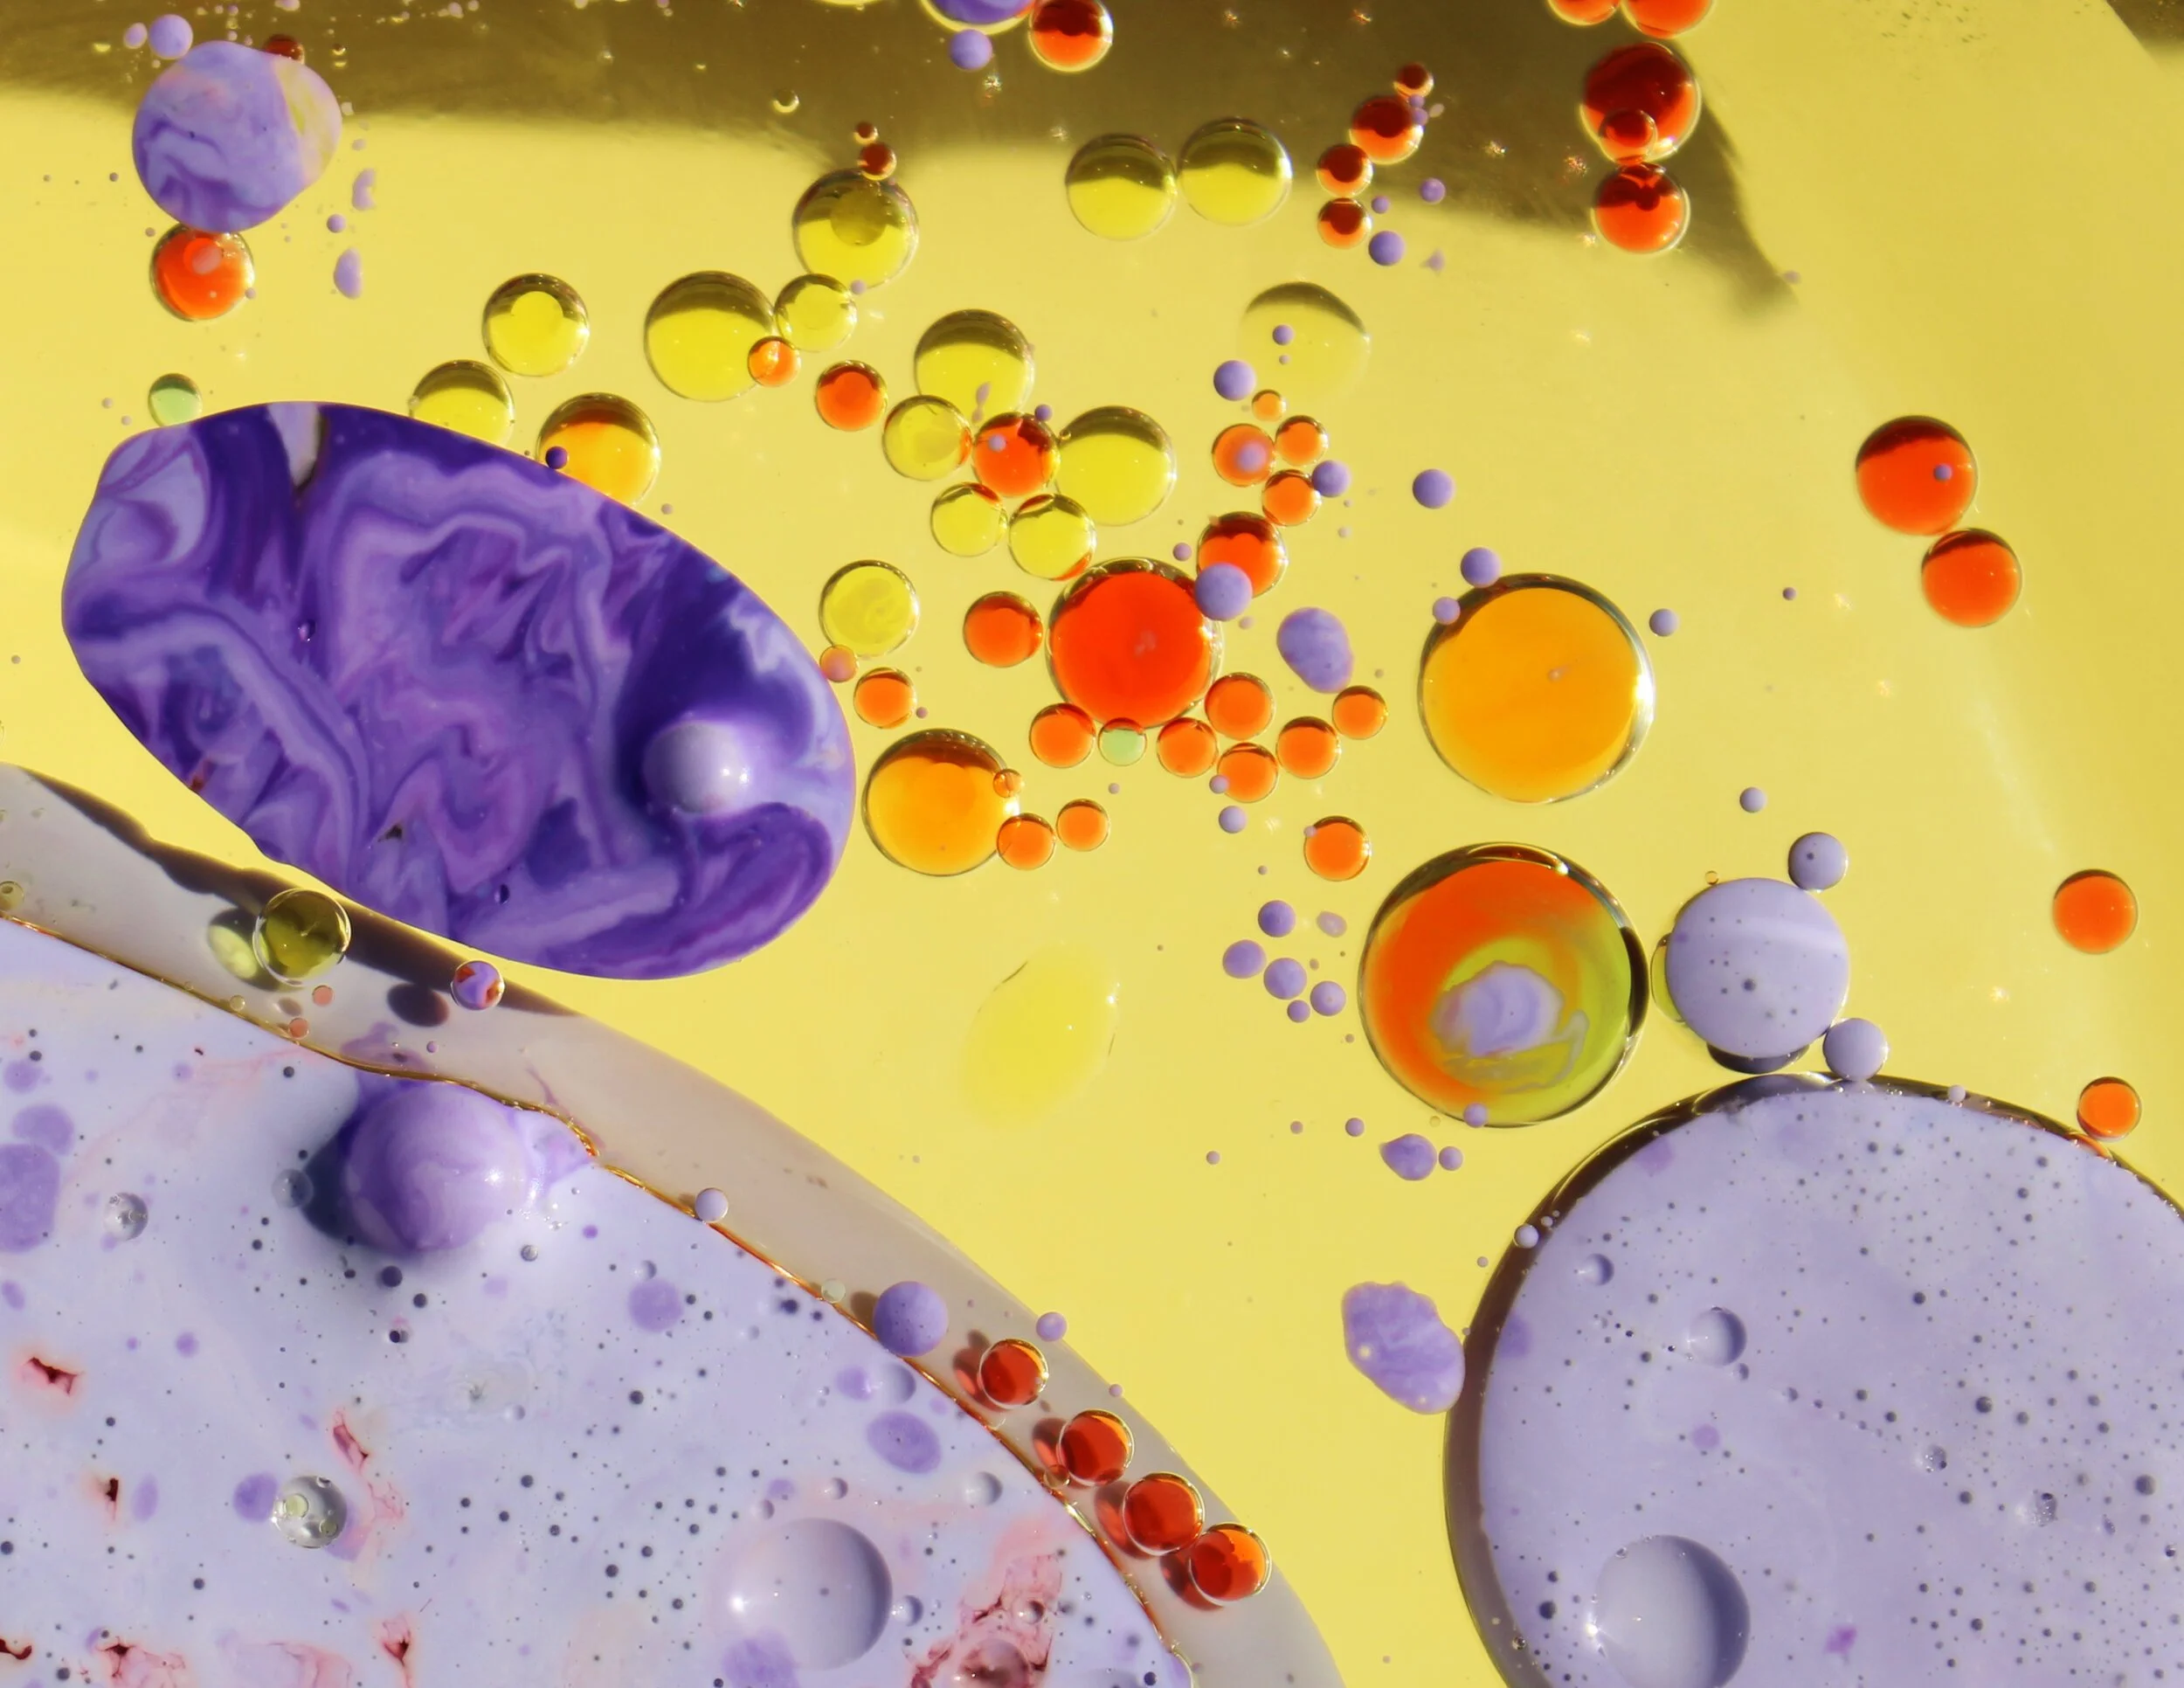
After getting a feel for the full cyanotype process, it's time to GET CREATIVE! You will now have the opportunity to plan and execute a photo series using the alternative process of cyanotypes. For this assignment you will be planning, shooting and printing a 5 image series of your creation. When you are coming up with your concept, be sure to keep the medium itself in mind. How can you use the chemicals to print in a unique way? How will the Prussian blue change the mood of your series? How will your presentation tell the story of your series?
Step one, PLAN: You will have full creative control over what you will photograph. Please note that you will be using a digital camera (you can however, shoot a roll of film and use the negatives as a part of your final image), edit your image using Lightroom or Photoshop and create a digital negative with our transparency paper. Your concept will be all your own. Use Milanote to create a mood board for your series concept and inspiration for your final print. In this assignment you will submit a PDF of your Milanote mood board.
Due Monday 9/26
The Mood Board must Include:
2 inspiration images of how to print
3 inspiration images for your photo series (what you are photographing)
A detailed description of your project idea
Any other aspects you need to include for yourself
Step two, PHOTOGRAPH: The part of the project we all love the most! At this stage you will photograph your 5 image series using a digital camera. As you are photographing, be aware of your lighting. For cyanotypes you will need to convert your images into grayscale, so be sure to photograph thinking more about your shadows and highlights rather than the colors in the image. How does a high contrast image print vs a low contrast image?
Images Due: Friday 9/30
Step three, EDIT AND PRINT: Once your images have been photographed, you will need to convert them into grayscale using Photoshop or Lightroom. While you are editing be sure to adjust the color values to add luminance to the shadows or highlights. The differentiation will help your final cyanotype print. As you are editing feel free to let your imagination run wild. You can cut subjects out in photoshop, composite in words, etc. This project is your own! Use the tools you have learned over the past three years to help bring your ideas to life. Don’t forget to invert your image to create a proper negative! Or, you can even leave it as a positive to print your final image as a negative… THE SKY'S THE LIMIT FOR YOUR PRESENTATION! Save your edits as a JPG and print them on our transparency paper and get to printing! For this project you are limited to the provided watercolor paper for your final prints. When preparing the paper with chemicals you can use different application tools and brush the chemicals however you’d like. Your creativity does not need to stop once your image is turned into a negative!
Final prints Due: Thursday 10/13
Print Inspiration
PHOTOGRAPHY 1 & 2: ABSTRACT BUBBLES (In class photoshoot)
(5 EDITED IMAGES): DUE friday 9/23
20 POINTS
It is time for us to break FREE from the computers for the day! Fir this photoshoot you will be working in small groups of THREE. Each group member will need to take their own pictures for this project. GROUP MEMBERS MAY NOT SHARE THE SAME IMAGES. After spending two (ish) weeks learning about the Elements of Art and Principles of Design, it’s time to test out our knowledge with a fun abstract photoshoot. Use this time to play around with different color combinations, textures and compositions in your cameras.
What we will use:
water
vegetable oil
food coloring
heavy whipping cream
colorful paper
Phone Camera App (don’t worry, we will get to the DSLR cameras soon!)
Each group will be given a clear plate with a thin coat of oil. One group member will come up and grab three cups with three different colors. Use the colored water to thoughtfully place “bubbles” on to your oil plate. Start off small then start to explore with different colors, stirring up the plate or even adding in the heavy cream for a different consistency. My suggestion would be to add the heavy cream after your get a few shots of just the oil and water together.
What you will turn in:
Your favorite edited image
Screenshot of your Abstract Bubbles Google drive Folder.
5 edited JPG images using Adjustment layers in Photoshop (we will cover the adjustment layers in class on Friday)
Each edited image must be labeled: E_Bubbles_yourinitials_0001.jpg
Be sure to include the unedited images in your drive folder
Google classroom assignment will be posted next week!
ONE SUBJECT ELEMENTS OF ART (PHOTO 1 ONLY)
DUE: MOnday, 9/19 (25 POINTS)
check in DUE: tuesday 9/12 (5 points)
TOTAL 7 EDITED IMAGES
Now that you have learned each of the 7 elements of art and HOW they apply to photography, you will go out and practice photographing all 7 elements. The focus of this photoshoot is to learn how to SEE the elements within your view finder. I WOULD SUGGEST USING AN EGG AS YOUR SUBJECT however, if you do not have access you may choose a different subject. If you cannot use an egg, you can choose to photograph a plant, an egg, a video game controller or really anything that is inanimate, but your subject must remain the SAME IN ALL 7 IMAGES. In this photoshoot you will be focusing on how to frame your subject with the elements of art in mind.
PROJECT REQUIREMENTS:
You will have a TOTAL of 7 images EDITED. you will need to turn in one edited image for EACH Element of Art
line, shape, form, space, color, value, texture
Your subject MUST BE THE SAME IN EACH PHOTOGRAPH
All images for this assignment MUST be taken after the assignment date
Save all images that you take for this project into a new Google Drive Folder
WHAT YOU WILL TURN IN:
Your strongest edited image.
Make sure your image is renamed: NameofElement_yourinitials.jpg
EX: Line_KL.jpg
Screenshot to your images in Google Drive
Your images must be places in a new folder in your photography Google Drive folder. Please title the folder YourLastName_ElementsofArt
All edited images must be renamed: NameofElement_yourinitials.jpg


COLOR SCHEME COLLAGE | Photo 2 & 3 ONLY
DUE: TUESDAY 9/13 (30POINTS)
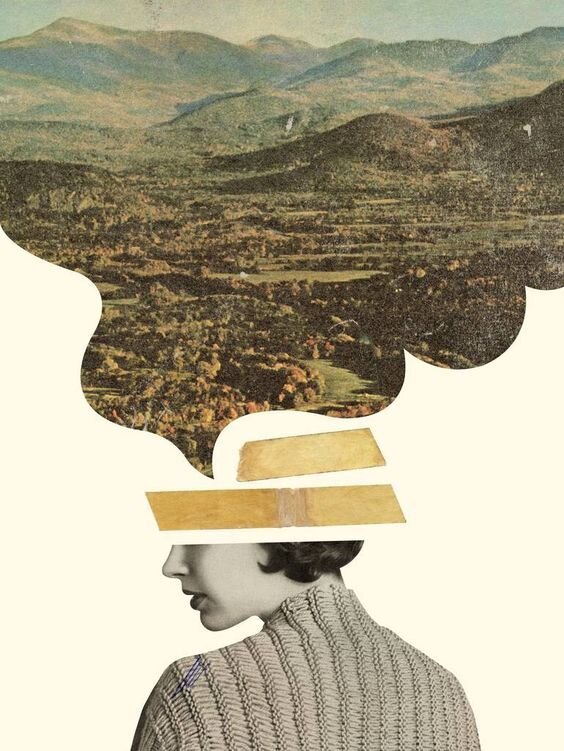
For this project YOU get to decide what your Dada inspired collage will consist of, the concept and contents are all up to you! This is your chance to run wild with your project. You can include images that you have taken. You can create a digital drawing in photoshop to include in your collage. You can take textures and images off the internet like we have been doing in class. However there are two requirements, you must make a “multimedia” style collage and it must consist of one of the seven color formulas we talked about in class.
TOOLS TO USE:
Layers
Blending modes
Layer masks
Clipping masks
Shape tool
Selection tools
Brush tool
YOU WILL NEED TO START WITH A COLOR FORMULA FROM THE IMAGE BELOW.
WHAT YOU WILL TURN IN:
Finished collage saved as a jpg file
rename: ColorSchemeCollage_yourinitials.jpg
Screenshot of your layers panel
DO NOT rename
Screenshot of your color palette or color wheel
This screenshot MUST SHOW which color scheme you used
rename this screenshot the color scheme you used with your initials at the end
EX: Analogous_KL.png
REMEMBER!
This project should mean something to you! Your project can be a collage of things you are interested in, social comment, fictional story or even an artistic concept. THE CHOICE IS YOURS! Below are a few examples to help inspire you.
